Web access
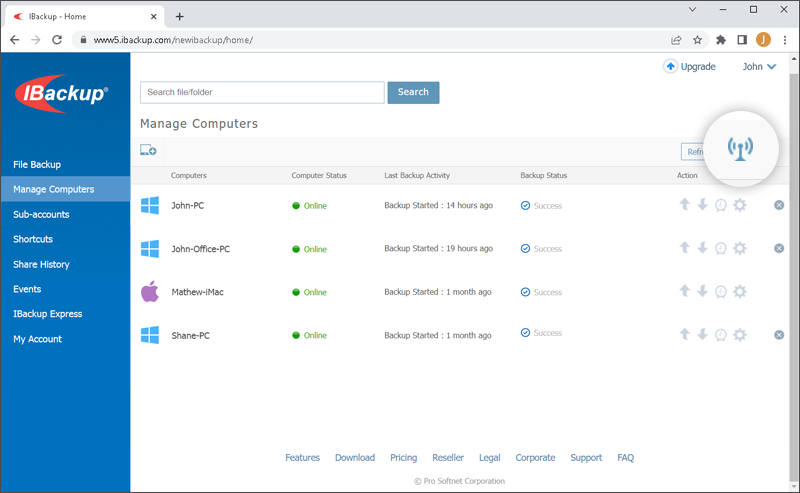
IBackup helps you to manage all of your connected computers via the web – anytime, anywhere. Ensure that the computers are connected to the network and the Web Access option is enabled on their desktop application.
Once you login to the IBackup desktop application on any computer, it automatically appears on the IBackup web interface. From the Manage Computers tab, click any connected computer and perform data backups, restore files to the respective computers, schedule backups, configure application settings, and do much more on each of your connected computers, from any web browser.
You can perform the following functions:
Add data to the backup set
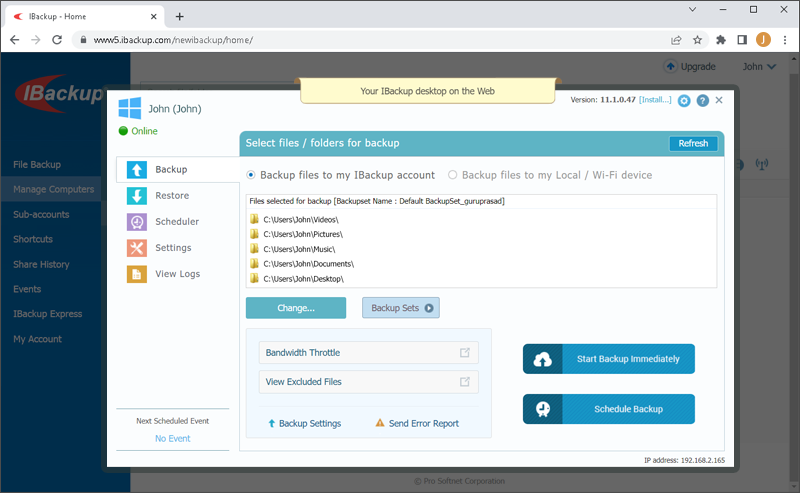
1. Click any computer name.
2. From the Backup tab, click Change…
The Add files/folders dialog box appears.
3. Select the files/folders you want to include in the backup set, and click OK.
Delete data from the backup set
1. Click any computer name.
The files selected for backup appears on the backup set.
2. Click Change… and clear the check boxes corresponding to files.
3. Click OK.
View session log
1. Click any computer name.
2. Click View Logs. A list of all the activity logs is displayed.
3. Click the specific session log that you want to view.

Disable web access
1. Click the settings icon at the top-right, and select Disable desktop access.
2. Click Yes in the confirmation box.
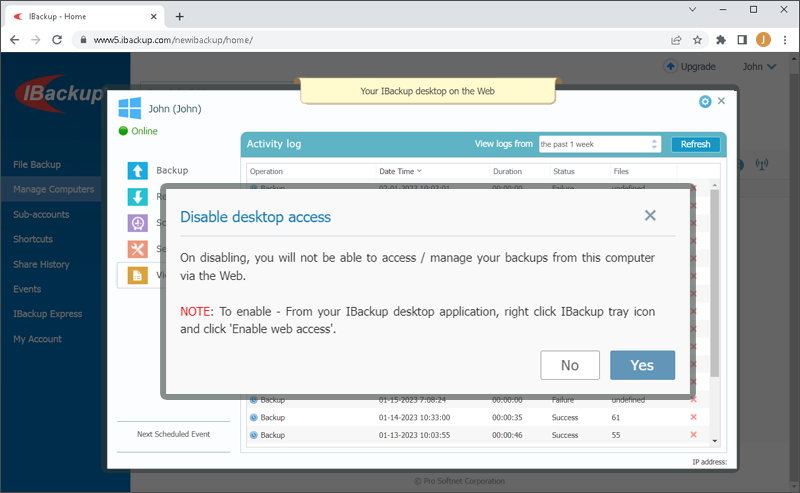
Note: On disabling the web access option, you will not be able to access/manage your backups for that computer, via the web. To enable, log in to the respective IBackup desktop app, right-click the IBackup tray icon, and click Enable Web Access.
Propogate Settings
The IBackup web interface gives you the option to make changes to all your computers at the same time.
To make changes,
1. Click ![]() on the top-right of the screen.
on the top-right of the screen.
2. The Propagate Settings screen appears with the following options: Settings, Scheduler, Files to Backup, Exclude Files and Bandwidth Throttle.
3. Select the preferred option(s), make changes, and click ![]() corresponding to the changes made.
corresponding to the changes made.